Photographing Your Garden and Home for Social Media: Light, Framing and Seasons
How to photograph your garden and home for social media: soft natural light, the right hour, simple framing, close-ups, season-long progress and short captions.
5 min
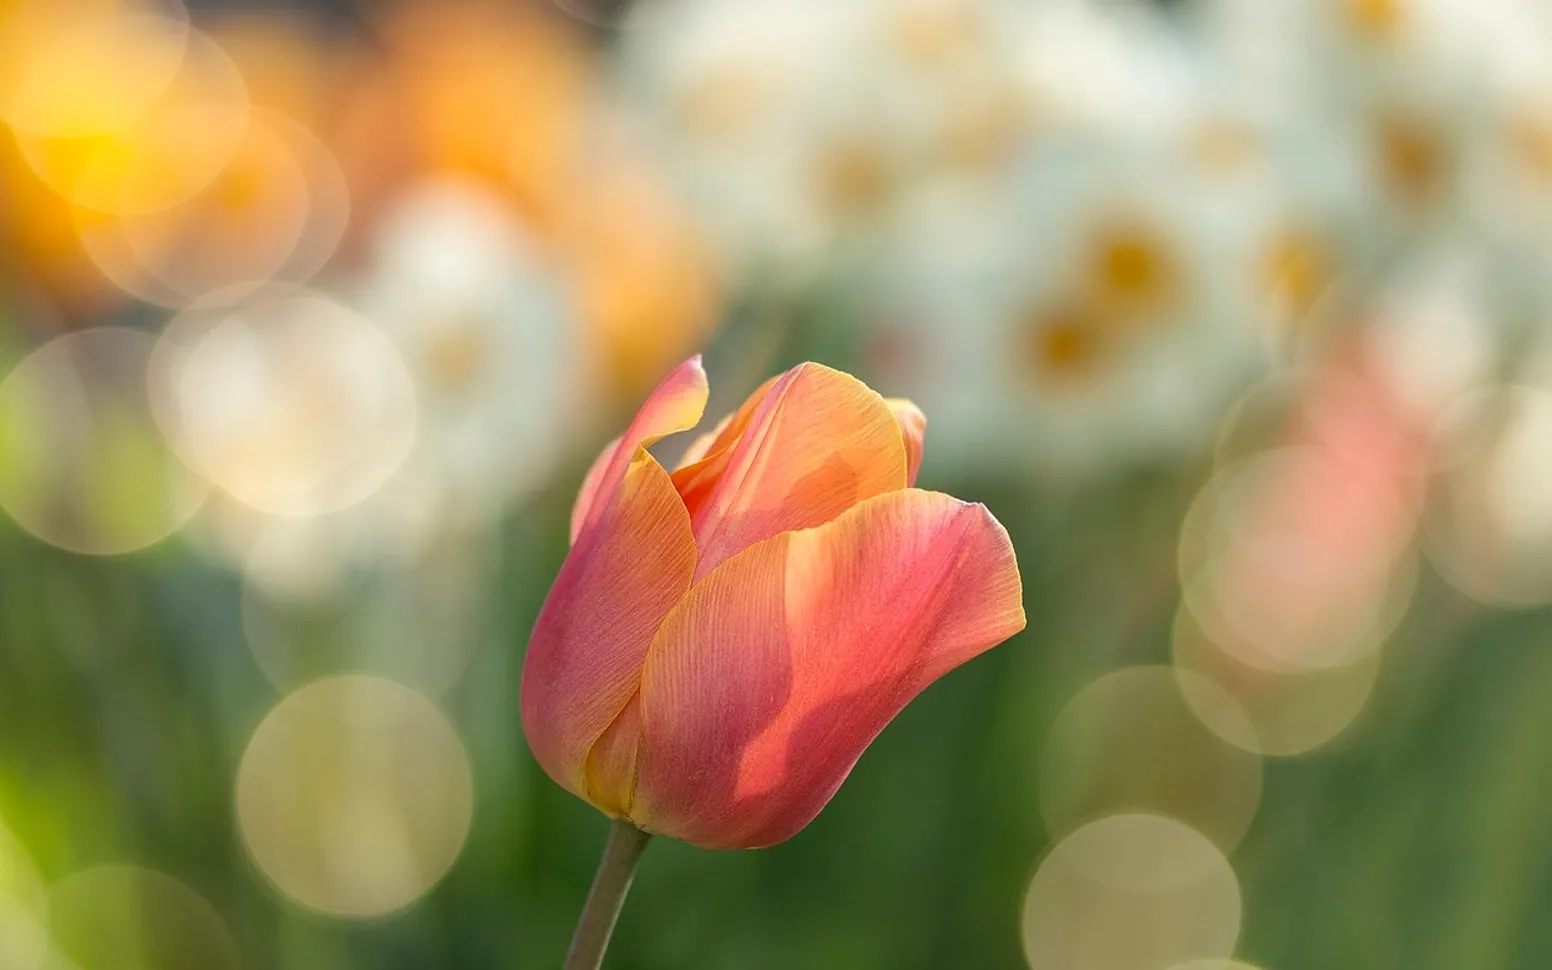
The quickest way to better garden and home photos is to shoot in soft, indirect light, early or late in the day, with a phone held steady at the height of the subject, and to cut everything from the frame that does not help the picture. Add a few close-ups, return to the same spots through the season, and write a caption that tells people something useful. None of this needs special equipment; it needs a little planning and the habit of looking before you press the button.
Work with the light you have
Light decides more about a photo than the camera does. Harsh midday sun flattens colour, bleaches white petals and throws hard shadows across lawns and paths. Soft light keeps greens rich and shows texture in bark, leaves and fabric.
- Early morning: low, warm light, often still air, dew on leaves and seed heads. Flowers look fresh and the garden is usually quiet.
- Late afternoon and early evening: long shadows and golden tones that suit borders, hedges and outdoor seating.
- Bright overcast days: an even, gentle light that works well for close-ups, pale flowers and planting with many shades of green.
- Indoors: switch off ceiling lights and use daylight from a window to the side of the subject. Mixing warm bulbs with daylight turns white walls yellow or blue.
Framing that keeps attention on the plants
Most weak garden pictures try to show everything at once. Pick one subject per photo: a clump of asters, a pot by the door, a path curving out of view. Then check the edges of the screen before you shoot. Hoses, bins, recycling crates and the neighbour's car tend to creep in.
Simple framing habits
- Hold the phone level; tilted fence lines and door frames are distracting.
- Crouch to the height of low plants instead of pointing down at them.
- Use paths, edges and steps as lines that lead the eye into the picture.
- Frame a view through an arch, a gap in a hedge or an open door to add depth.
- Leave some space around the subject so the photo does not feel cramped.
The same rules apply inside. A styled shelf, a set table or a window sill with a few pots all look calmer when the frame is cleared of cables and remote controls. Our guide on arranging a bookshelf so it looks relaxed rather than crowded covers the kind of balance that also reads well on a small screen.
Close-ups and details
Close-ups are often the photos people stop for. Tap the screen to focus on the centre of a flower, the frost on a seed head or a bee on lavender, and let the background blur. Move rather than zoom: getting physically closer keeps the picture sharp. A plain background such as a wall, a hedge in shadow or the sky helps a single bloom stand out.
Show progress over a season
One of the most useful things a garden account can do is show change over time. Choose two or three fixed spots and photograph them from the same place, at about the same time of day, every week or two. Later the series shows a bare bed filling out, a hedge greening up or a bulb planting turning into colour.
| Moment | What to capture |
|---|---|
| Planting day | Bare soil, the plan, bulbs or seedlings in place |
| First growth | Shoots and leaves, close to the ground |
| Peak | The full bed or border from your fixed spot, plus details |
| After flowering | Seed heads, autumn colour, cutting back |
Bulbs make a good first project because the timeline is clear. Our notes on when and how deep to plant tulip bulbs give you the starting point for a series that runs from autumn into spring.
Captions that help people
A short caption that answers a question is worth more than a long one that only describes the photo. Say what the plant is, when you planted it, what worked and what did not. A line such as "sown in late March, flowering by July, needed staking after the first storm" is more helpful to other gardeners than a string of adjectives. Keep it brief, put the key fact first and answer comments when people ask for details.
How often should you post?
Regularity matters more than volume. A steady rhythm, whether that is twice a week or once a fortnight, is easier to keep up than a burst of posts in May followed by silence. Garden work is seasonal, so it is fine to post less in winter and share planning, tools or indoor plants instead.
A consistent look
When photos share a similar feel, an account looks considered rather than random. That does not mean heavy filters. Shoot in similar light, edit lightly in the same way each time (a touch of brightness, straightened lines, perhaps a little warmth), and return to a few familiar settings such as the same bench, wall or window. Avoid oversaturated greens; real foliage has many tones and looks better when they are kept.
How small garden and decor businesses use the same habits
Nurseries, florists, garden designers and small homeware shops rely on exactly these skills. Showing a planting scheme through the year, a shop display in morning light or a finished room from a consistent angle tells customers more than a product list. Many owners keep the photography in-house because nobody knows their plants and stock as closely. Others find the planning, posting and replying takes more hours than they have and pass part of it to an outside provider; firms that offer Social Media Marketing Optimization are one option for businesses that want help with that side of the work while they concentrate on the garden or shop itself.
Start with one corner of the garden or one room, photograph it in good light this week, and come back to the same spot next week. After a few months you will have a record of how the space changes and a set of pictures that reflect it honestly.
 Leaf Mold: Turning Fallen Leaves Into a Free Soil Conditioner
 How to Plant Garlic in Autumn for a Summer Harvest
 What Vegetables to Plant in Fall: Quick Crops and Overwinterers